This past week has been so incredibly busy with getting all the things ready for my kids to go back to school. I swear this summer flew by so quickly and I am not sure I am ready to make school lunches and school routines. My family definitely made the most of the summer this year.
Made By Debbie
I’m always surprised with how busy the week before school is. You would think by that time, I would have all the things bought that they need, everything labeled and packed in bags.. I am usually a very organized person when it comes to these things but the past two years, I have left everything until the last minute for back to school. Part of it is that my kids seem to have big growth spurts during the summer so I wait to purchase their jeans and shoes!
All the Fall Vibes!
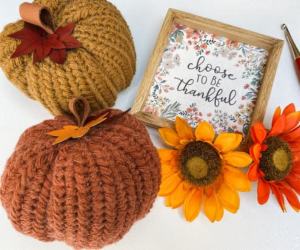
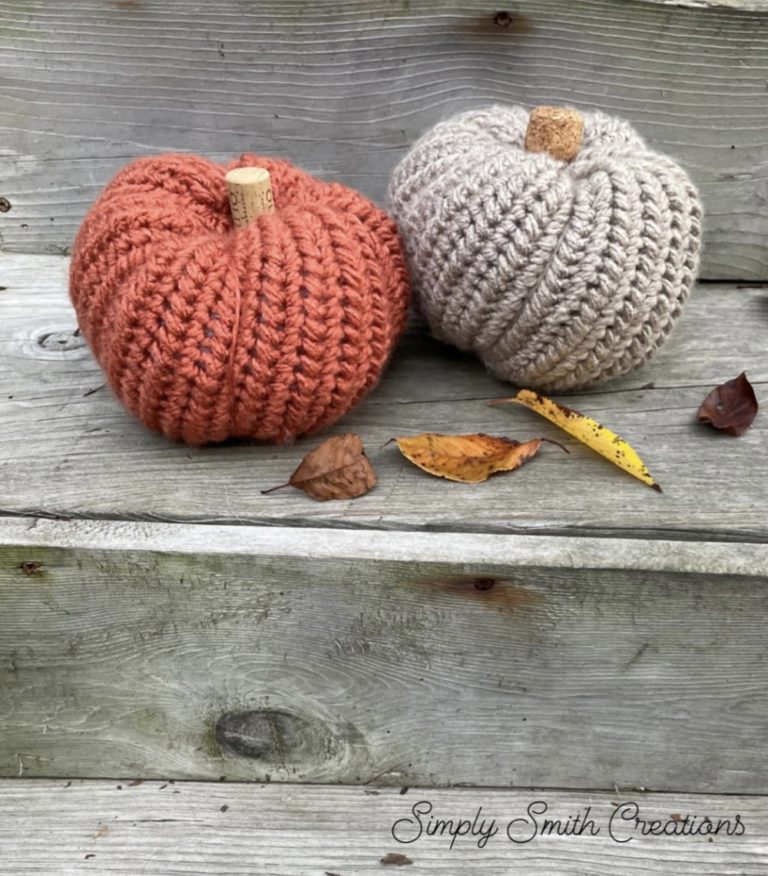
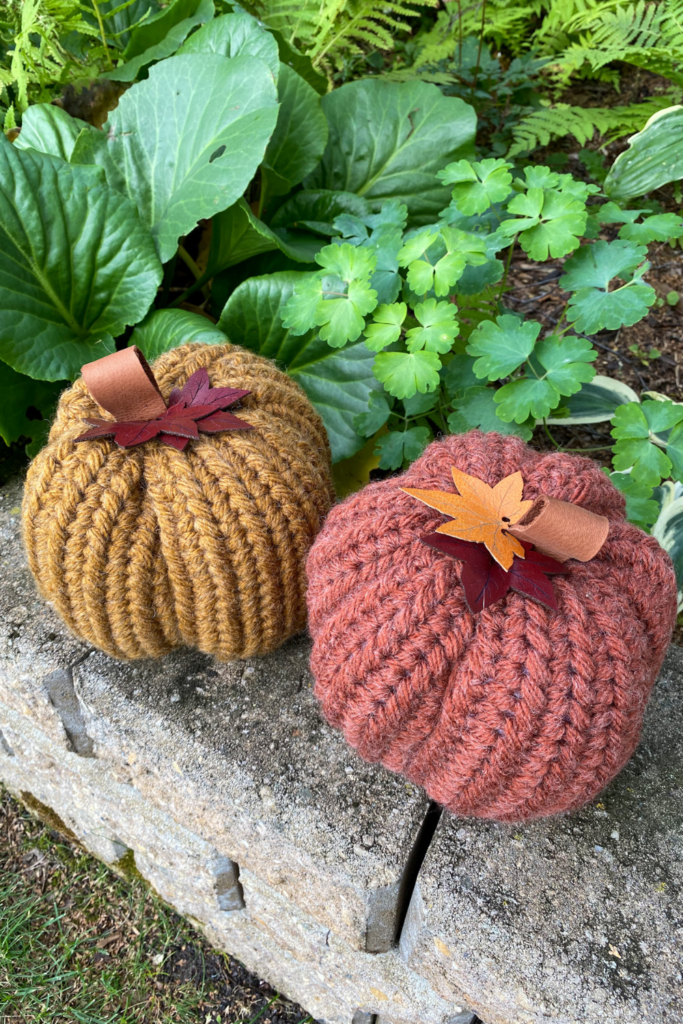
This week, I have a really fun, beautifully textured pumpkin pattern to kick off the fall season. I have slowly been transitioning my home décor from summer over to fall. I am still being selective as to what I am transitioning as I personally feel it is too early for me to put out Halloween decorations.
Though I have a few friends who are already decorating for Halloween and it looks so dang good already but I am just not ready to decorate for Halloween just yet.
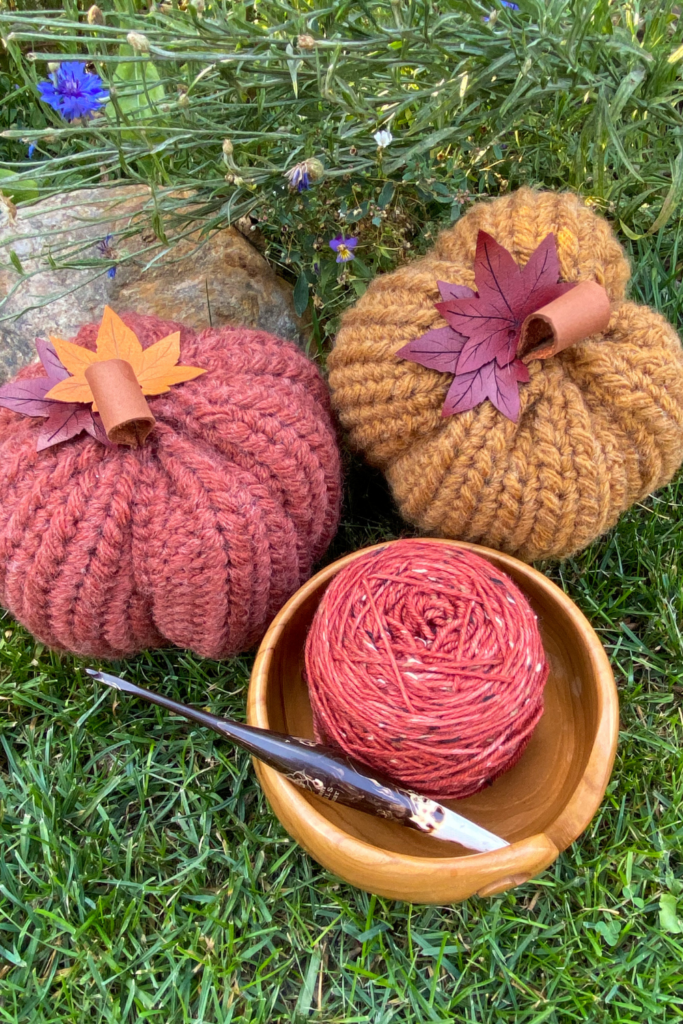
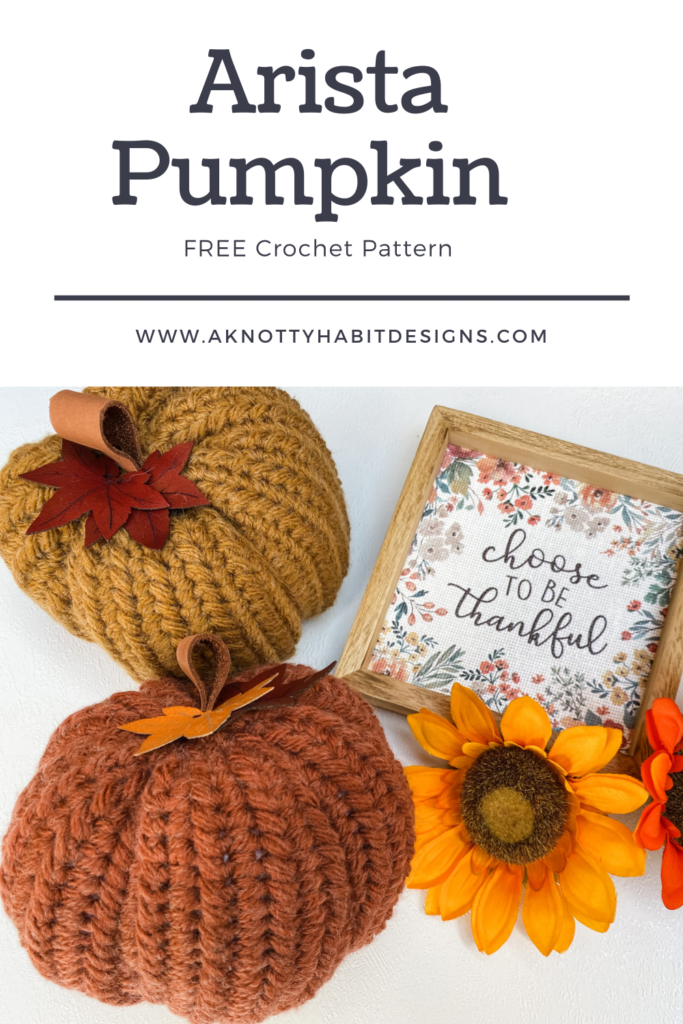
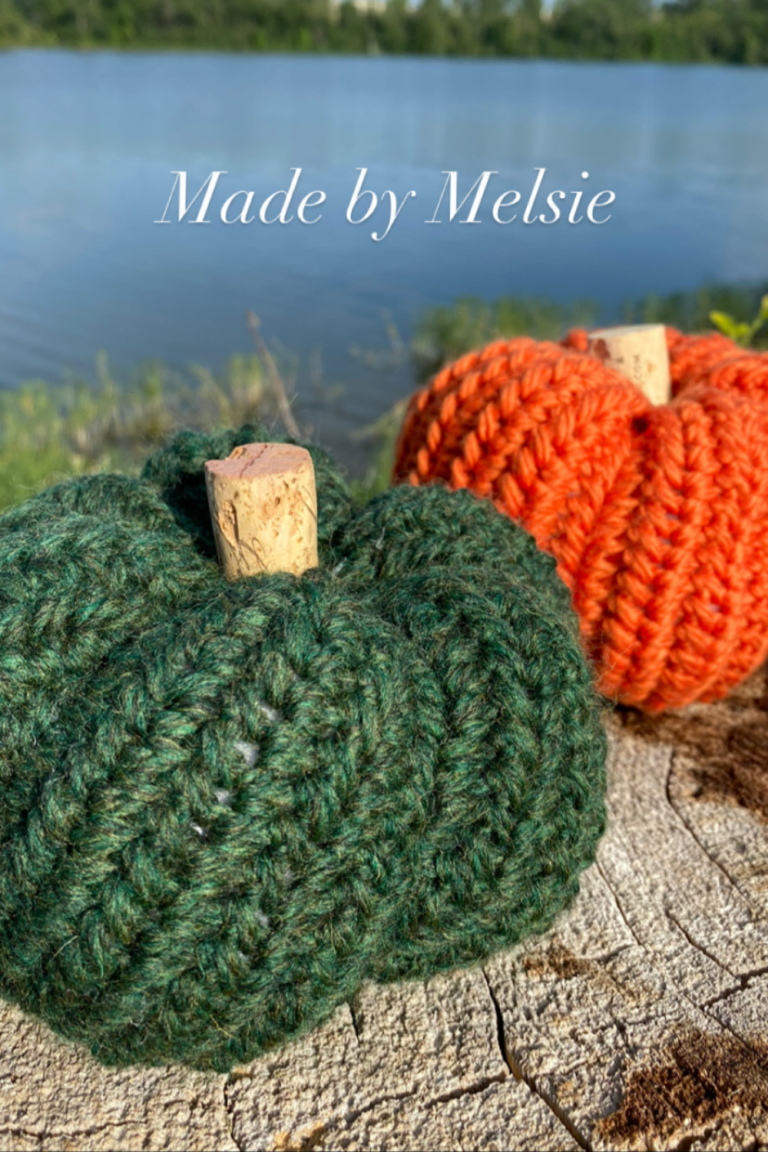
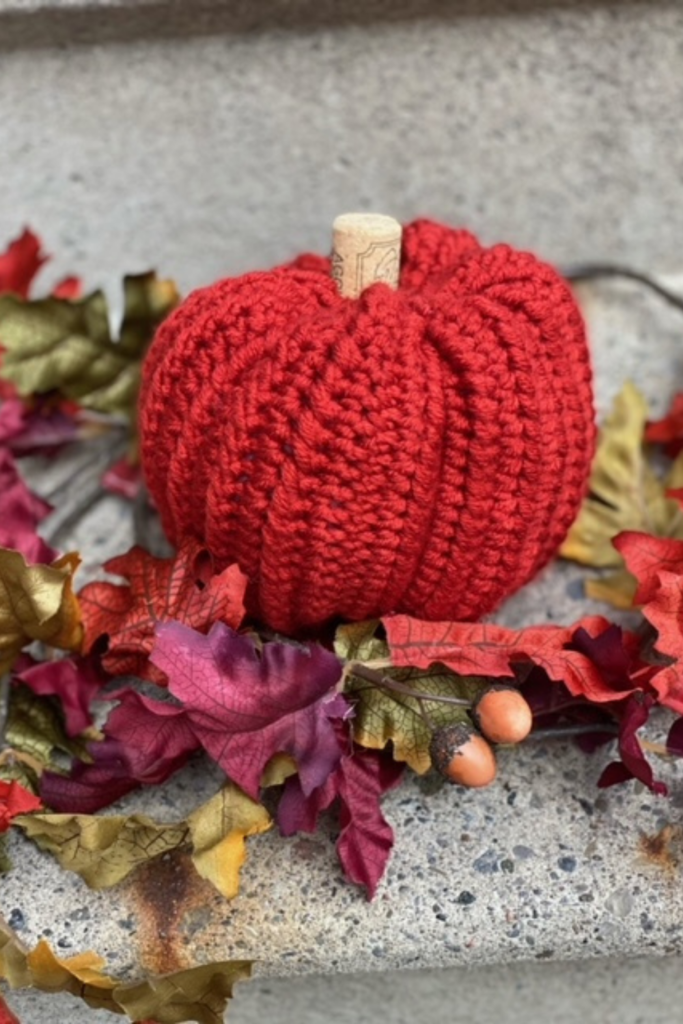
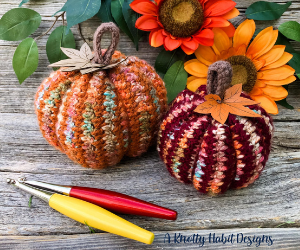
The Arista Pumpkin crochet pattern is the perfect piece to start your transition to fall decorating. I personally plan of having a few in fall colours. I also have plans to make some in Halloween colour and maybe add a few jack-o-lantern features because how fun would that be?! I know my kids are going to have fun with that!!
Do you prefer Fall or Halloween decorations?
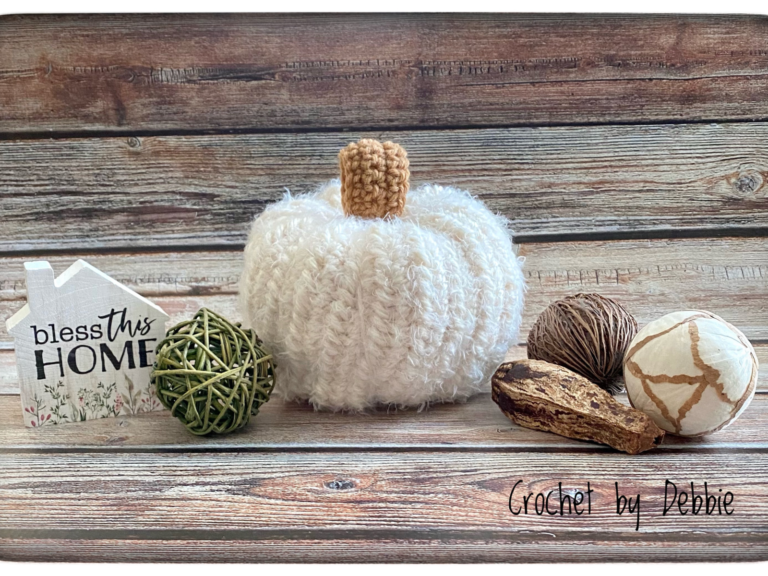
Isn’t that the neatest thing about being able to crochet? I love that I can completely customize everything about a piece to my wants and liking!
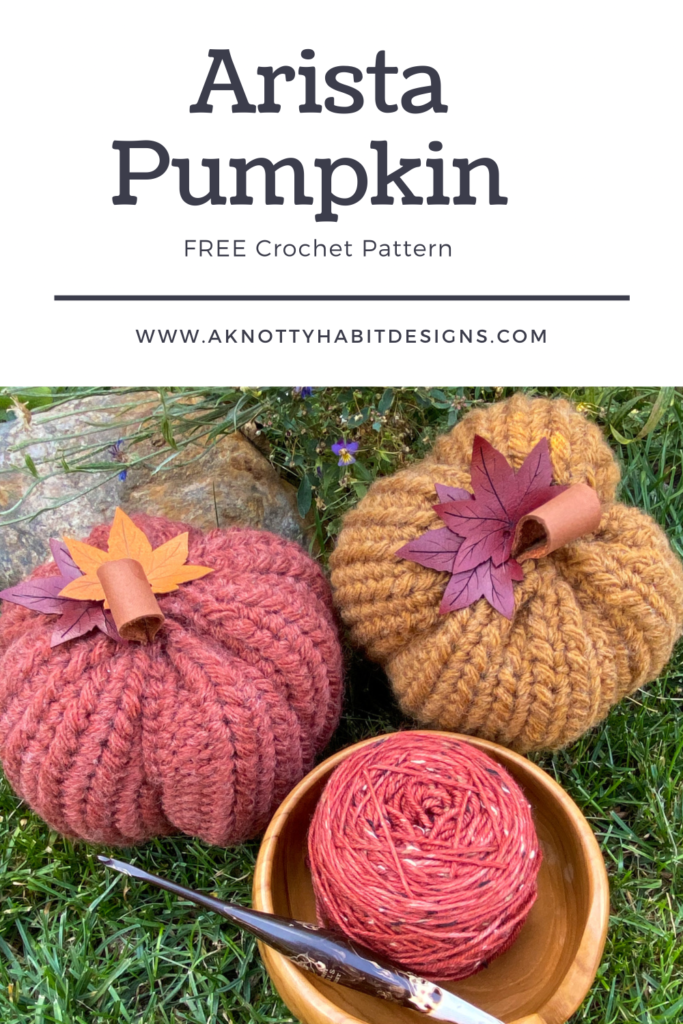
What you need: 5 mm and 6 mm Furls crochet hook (or hook to obtain gauge).
Any 5-weight yarn. I used Two of Wands, Hue and Me yarn (approximately 100 yards)
Scrap 4-weight yarn for pumpkin stump (optional)
Yarn needle Measuring tape Scissors
Gauge with 6 mm hook: 6 STS of the body by 6 rows = 2 inches
Stitches you will be working with:
CH: Chain SC: Single Crochet
HDC-SLST: Half Double Crochet Slip Stitch (Yarn over (YO), insert hook into the next ST, YO and pull through the ST and all loops on the hook.
SLST: Slip Stitch ST: Stitches
Notes: Written in US terminology. All CH 1 do not count as a stitch. If you are having trouble matching the gauge, you may need to go up or down a hook size. Odd number rows are your right side.
Pumpkin Pattern : 6 mm hook
Leaving an 18-inch tail, CH 28
Row 1: SC in 2nd CH from hook, SC in next 26 CHs, turn. 27 STS
Row 2: Ch 1, HDC-SLST across, turn. 27 STS
Row 3: CH 1, SC across, turn. 27 STS
Repeat rows 2 and 3 for rows 4 – 45.
Row 46: Fold your piece in half with the wrong side facing out, SLST your last row to your first row. Turn your piece inside out so that the SLST seam is inside your work. Fasten off leaving a 36-inch tail to finish off your pumpkin.
Row 1: SC in the 2nd CH from the hook, SC in the next 12 STS, turn. 13 STS
Row 2: CH 1, SC across, turn. 13 STS
Row 3: CH 1, SC across, turn. 13 STS
Row 4: Ch 1, SC across. 13 STS
Fasten off leaving a long tail to sew.
Fabric Stump Option
Cut desired fabric 1 inch wide and 3 inches tall. If you are using a fabric like leather, you will want to punch holes along both short sides of the fabric. Move on to finishing directions.
Closing/ Finishing Your Pumpkin
Step 1. Using the 18-inch tail and tapestry needle, weave your tail through every second row of the edge of your work. Cinch it tight and whip stitch the hole fully closed. Fasten off and weave in ends.
Step 2. Stuff your pumpkin but not too firm or it will make it difficult to shape.
Step 3. Using your 36-inch tail, repeat #1 instructions but do not weave in ends.
Step 4. Once your piece is cinched and whip stitched, take your yarn tail and wrap it around the pumpkin until it meets where you started. Pull it tight to make the indent around the pumpkin, secure it with a whip stitch.
Step 5. Rotate your pumpkin and repeat #4 until you have the desired amount of indents on your pumpkin. Fasten off and weave in all ends.
Step 6. If you are using crochet pumpkin stump: Fold ST 1 to ST 13 of your stump together. Using your long tail, sew the ends together. Position the stump on the top of your pumpkin and sew it to the pumpkin with the remaining yarn tail. Fasten off and weave in all ends.
Step 7. If you are using fabric for your pumpkin stump: Fold the two short sides together, using scrap yarn or thread, sew the stump to your pumpkin.
Step 8. Now you can add any accessories you would like.
If you want a printed version of this pattern, click on over to my Ravelry site here where you can buy and download instantly.
I love to see your finished items, so feel free to use #aristapumpkin when you are posting your photos, so I can admire your work!
The photographs and pattern contained in the document are the property of A Knotty Habit Designs. You may not reproduce, redistribute, or share this pattern. You may sell your finished items but please consider giving pattern credit to A Knotty Habit Designs.
This website uses cookies to improve your experience. We'll assume you're ok with this, but you can opt-out if you wish. Cookie settingsACCEPT
Privacy & Cookies Policy
Privacy Overview
This website uses cookies to improve your experience while you navigate through the website. Out of these cookies, the cookies that are categorized as necessary are stored on your browser as they are essential for the working of basic functionalities of the website. We also use third-party cookies that help us analyze and understand how you use this website. These cookies will be stored in your browser only with your consent. You also have the option to opt-out of these cookies. But opting out of some of these cookies may have an effect on your browsing experience.
Necessary cookies are absolutely essential for the website to function properly. This category only includes cookies that ensures basic functionalities and security features of the website. These cookies do not store any personal information.
Any cookies that may not be particularly necessary for the website to function and is used specifically to collect user personal data via analytics, ads, other embedded contents are termed as non-necessary cookies. It is mandatory to procure user consent prior to running these cookies on your website.


One Comment
Pingback: