I hope your week has been fantastic and productive.
Can you believe we are almost at the end of March already! …. Like, where are the months going? I was talking with a friend about this and for a year that has felt like it has been dragging on forever but it’s actually going really fast. Honestly, I am not sure how I feel about this?
On one hand, I am happy it is going fast because that means we are moving toward the light at the end of the tunnel for Covid-19 with the vaccine roll out but on the other hand, I’m sad that we have missed out on so much time with our families.
We have had restrictions where we are not allowed any inside social gatherings since mid to late November.
We are allowed to meet outside with a maximum of 10 people but in my case, that doesn’t work as my mother-in-law and papa are 2.5 hours away.
We miss them dearly and keep adding plans to our big celebration once we are able to.
My kiddos are so looking forward to Easter and break from school. I am too! I always look forward to not having to get up early, make lunches and get kids ready. We are looking forward to bike rides, exploring, crafting and hopefully sleeping in (please kiddos!).
Vacation Time is about to arrive!!
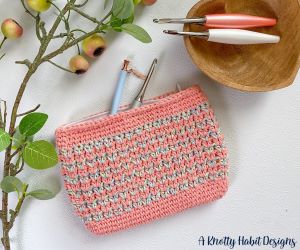
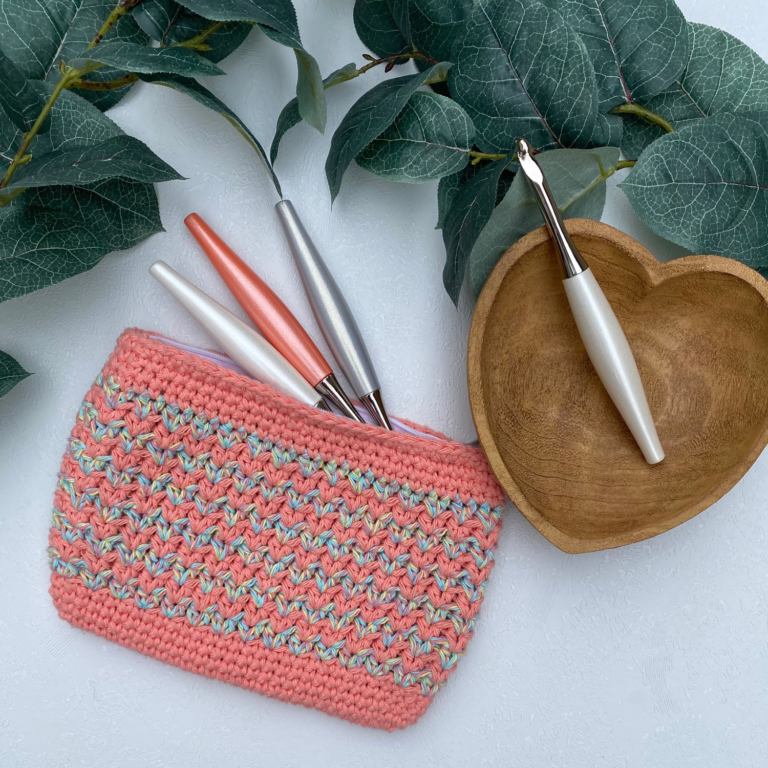
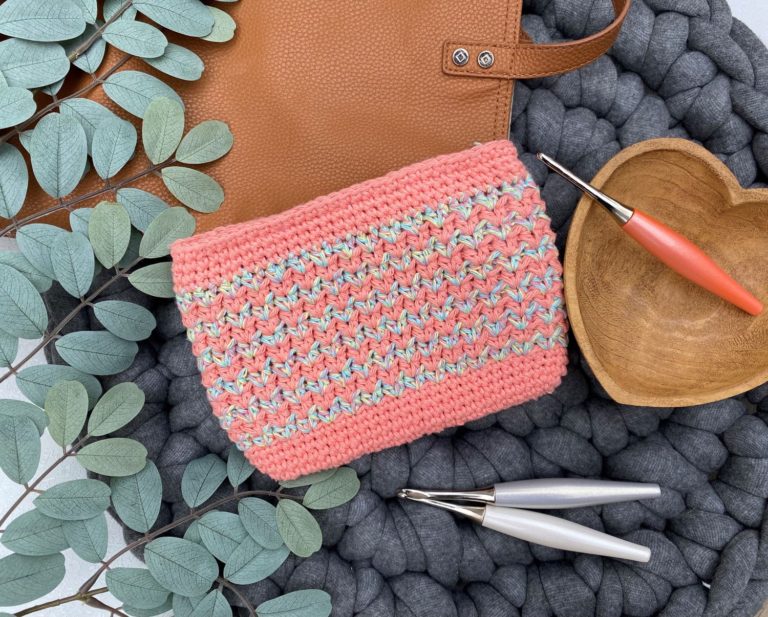
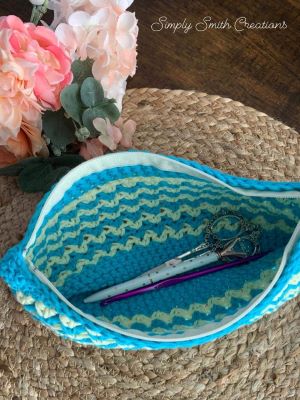
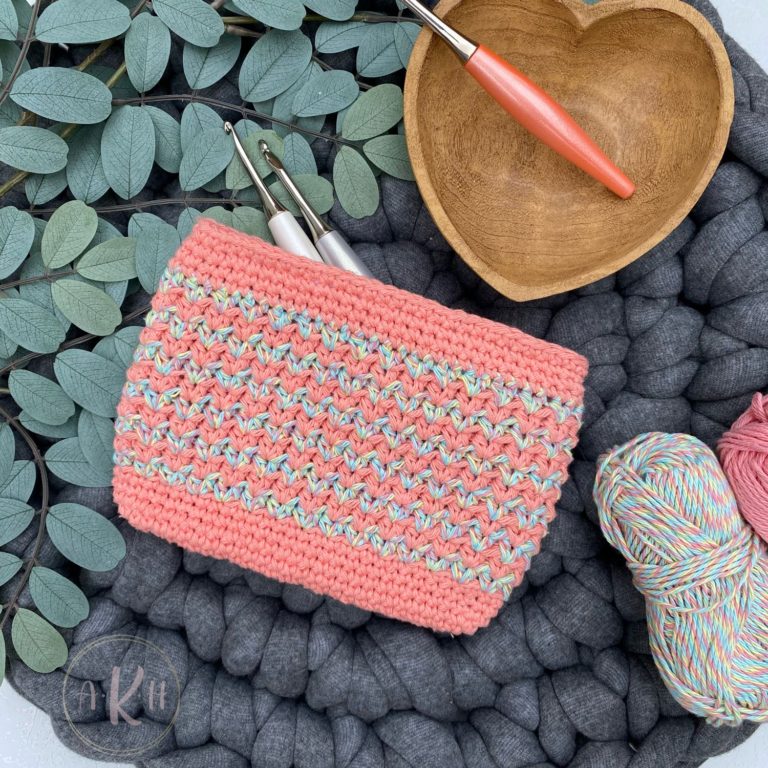
This week I have a quick project for you! A few weeks ago, I released the Hallie Tote pattern and I knew that I needed to do a Hallie Zipper Pouch pattern to match. This pattern works up quickly and sewing in a zipper is easier than you may think.
I made this zipper pouch for my new little niece who was born last week. I love being able to show my love through my craft!
I haven’t been able to meet her yet due to restrictions but I am looking forward to the day when I can give her all the auntie snuggles and count all her tiny fingers and toes. Just one of the many things I look forward to once things settle down.
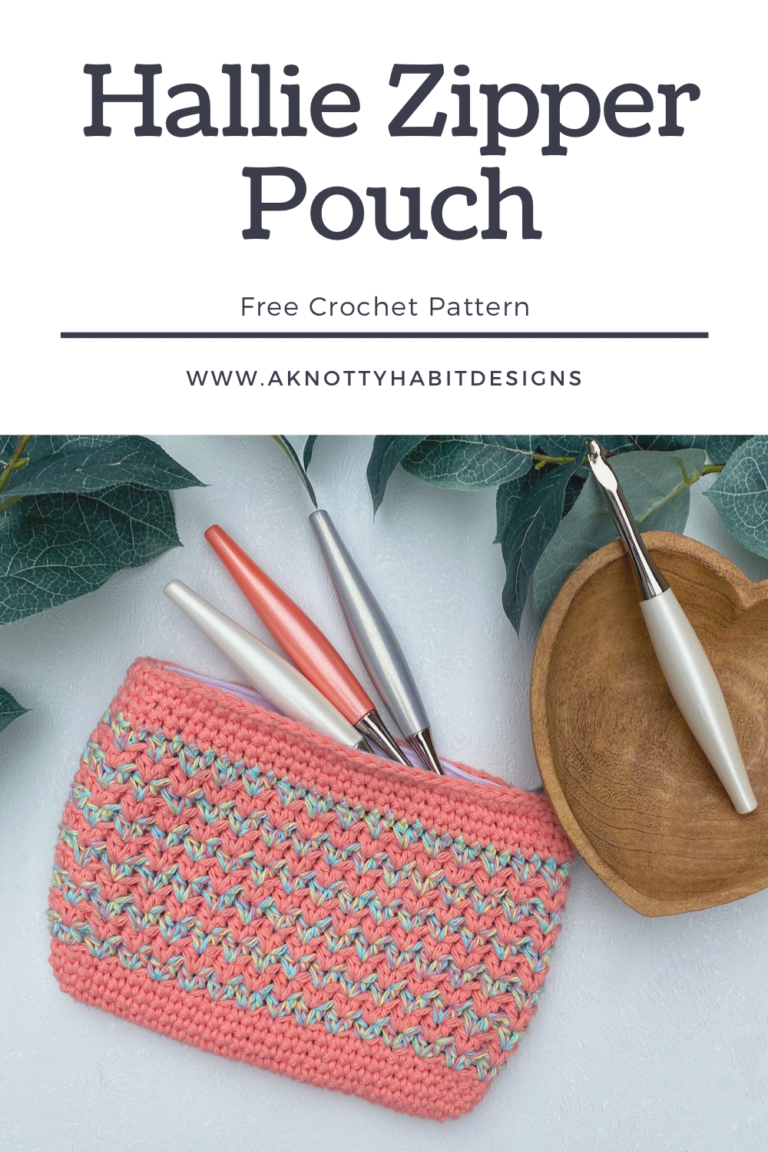
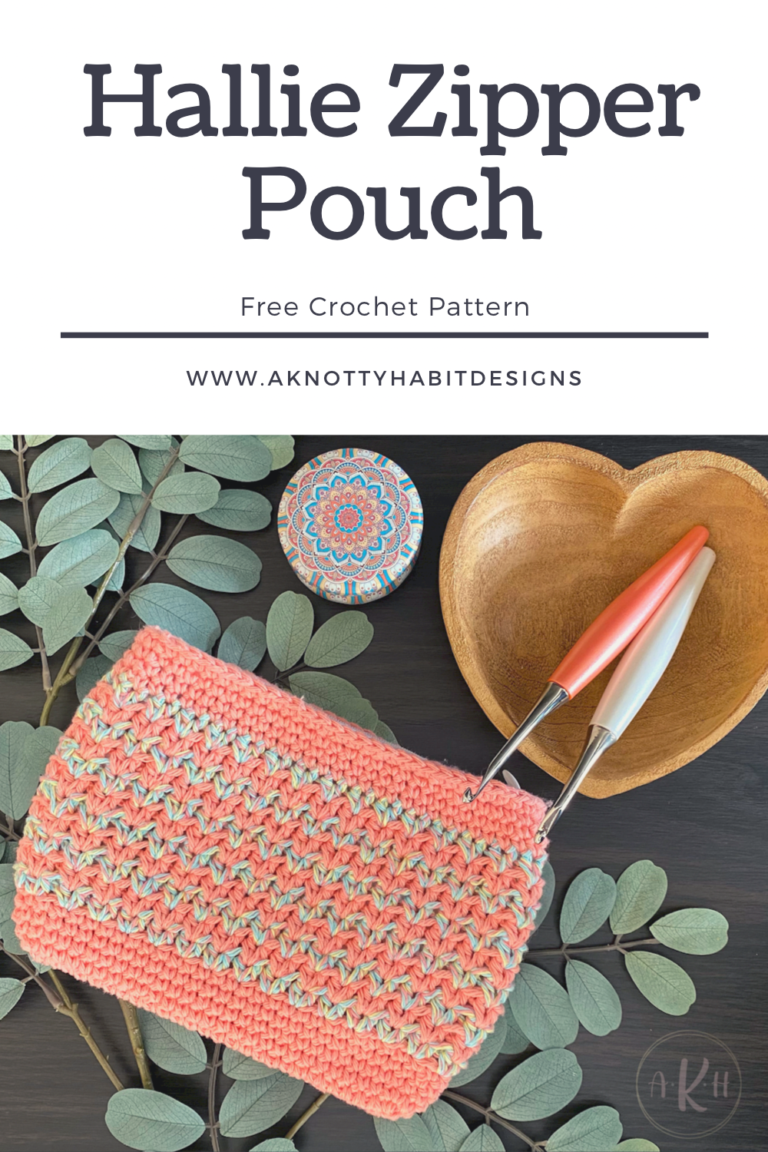
PATTERN - Hallie Zipper Pouch
What you need:
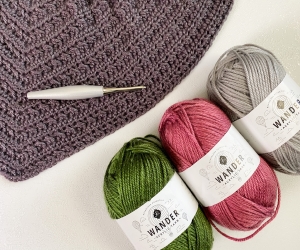
5mm crochet hook (or hook to obtain gauge)
Any worsted weight (4) cotton yarn. I used Bernat Handicrafter Cotton (approx. 130 yards)
One 9-inch closed end zipper Measuring tape Scissors Yarn needle
Notes:All CH 1 do not count as a stitch. You can use any 4-weight cotton yarn. If you are having trouble matching the gauge, you may need to go up or down a hook size.
Row 1 : 2 SC in 2nd CH from hook, SC in next 24 CHs, 4 SC in the last ST, working down the back of the chain, SC in next 24 STS, 2 SC in in the same ST as the 1st 2 SC, SLST to join. (56 STS)
Row 2 : CH 1, 2 SC in next 2 STS, SC in next 24 STS, 2 SC in next 4 STS, SC in next 24 STS, 2 SC in last 2 STS, SLST to join. (64 STS)
Row 3 : CH 1, SC around, SLST to join. (64 STS). Repeat Row 3 for rows 4 – 5.
WITH ACCENT COLOUR
Row 6 : CH 1, [SK 1, 2 HDC in next ST] 32 times, SLST to join. (64 STS)
WITH MAIN COLOUR
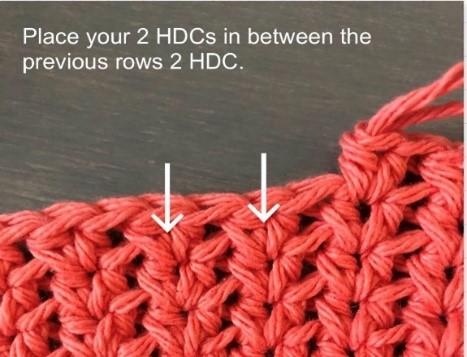
Row 7 : CH 1, 2 HDC between the previous rows 2 HDC around, SLST to join. (64 STS)
(See photo 1 for stitch placement.)
Photo 1 : Stitch Placement
Repeat Row 7 for rows 8 – 16. Be sure to alternate your colours each row. At this time, you will fasten off accent colour and weave in ends.
WITH MAIN COLOUR
Row 17 : CH 1, SC around, SLST to join. (64 STS)
Repeat row 17 for rows 18 – 20. Fasten off and weave in all ends.
HOW TO ATTACH THE ZIPPER
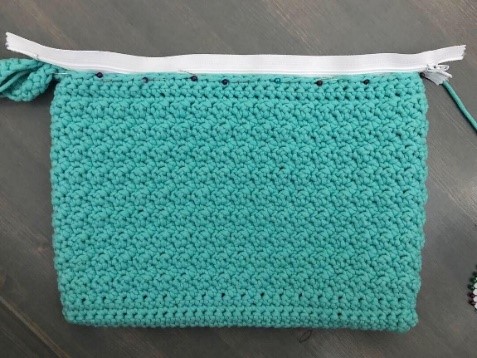
Using the sewing pins, pin the zipper to the inside of the pouch (see photo 2 below).
There is some overhang, but we will deal with these as we sew the zipper to the pouch. I used yarn and a sharp needle to sew the zipper using a running stitch.
Do not fasten off as you will continue sewing the zipper on the other side of the pouch.
Photo 2 : Pinning zipper to pouch
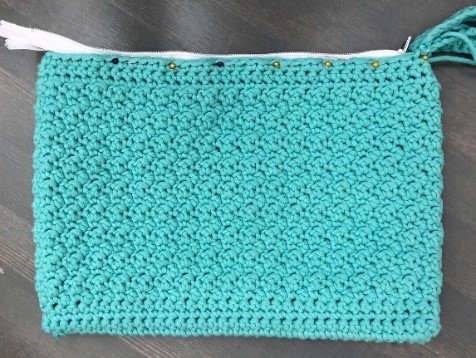
Photo 3 : Pinning zipper to pouch
Unzip the zipper and using the sewing pins, pin the zipper onto the inside of the pouch like the first side (see photo 3 above).
It is very important to make sure both sides of the zipper line up or your zipper won’t zip.
Before you start sewing in the zipper, tuck the ends of the zipper into the pouch.
Sew in the zipper using a running stitch. Once you get to the end, tuck the ends of the zipper into the pocket.
I do a couple of whip stitches in the yarn of the pouch to close and clean up the end of the zipper.
Fasten off and weave in all ends.
There you have it!
You have made your very own Hallie Zipper Pouch.
If you want a printed version of this pattern, click on over to my Ravelry site where you can buy and download instantly
I love to see your finished items, so feel free to use #halliezipperpouch when you are posting your photos, so I can admire your work.
The photographs and pattern contained in the document are the property of A Knotty Habit Designs. You may not reproduce, redistribute, or share this pattern. You may sell your finished items but please give credit to A Knotty Habit Designs.
This website uses cookies to improve your experience. We'll assume you're ok with this, but you can opt-out if you wish. Cookie settingsACCEPT
Privacy & Cookies Policy
Privacy Overview
This website uses cookies to improve your experience while you navigate through the website. Out of these cookies, the cookies that are categorized as necessary are stored on your browser as they are essential for the working of basic functionalities of the website. We also use third-party cookies that help us analyze and understand how you use this website. These cookies will be stored in your browser only with your consent. You also have the option to opt-out of these cookies. But opting out of some of these cookies may have an effect on your browsing experience.
Necessary cookies are absolutely essential for the website to function properly. This category only includes cookies that ensures basic functionalities and security features of the website. These cookies do not store any personal information.
Any cookies that may not be particularly necessary for the website to function and is used specifically to collect user personal data via analytics, ads, other embedded contents are termed as non-necessary cookies. It is mandatory to procure user consent prior to running these cookies on your website.